Whiteboard animation for explainer videos
The drawn scenes of a whiteboard explainer video, from the pictures you already have. Upload each illustration, get it drawn by hand as a clip, and cut the clips together under your script and voice-over in your own editor.
6 scenes for an explainer
Diagrams, processes and products, each drawn from one picture: the scenes a whiteboard explainer video is cut from. Open any to watch it draw and start yours in the same style.
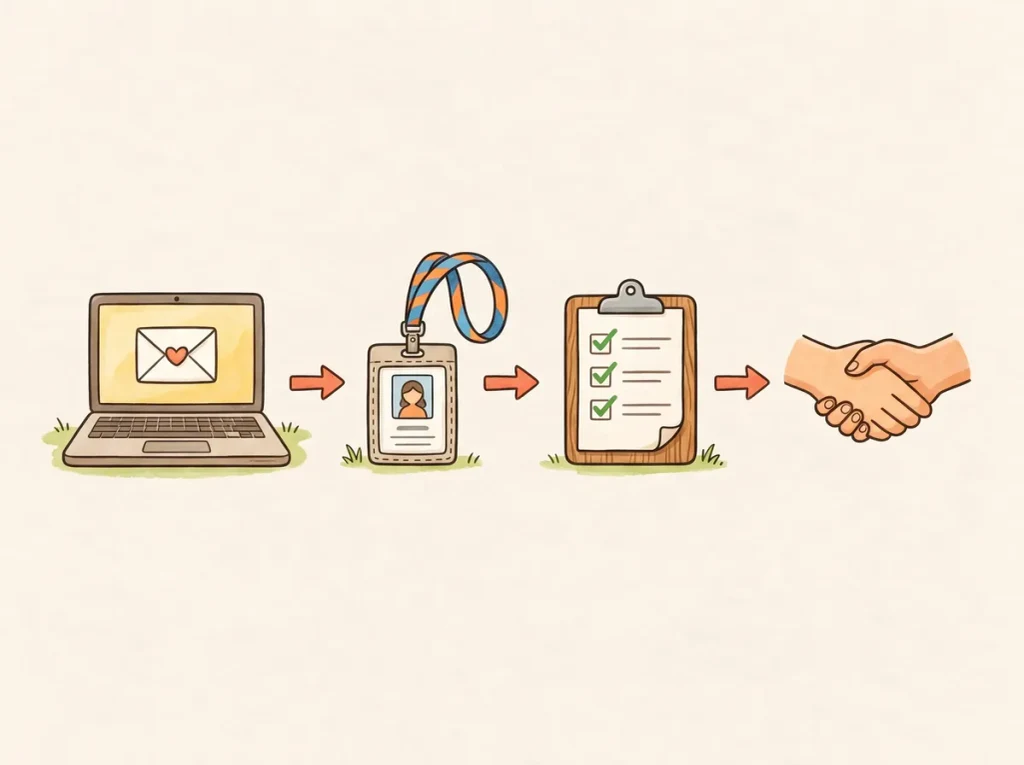
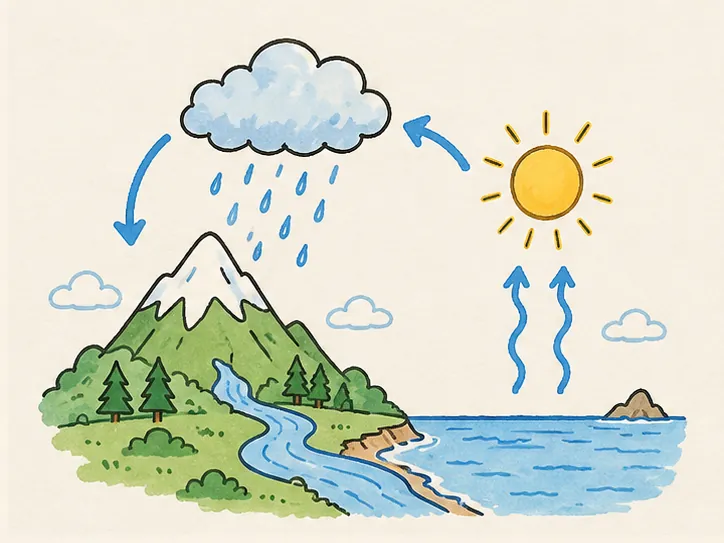
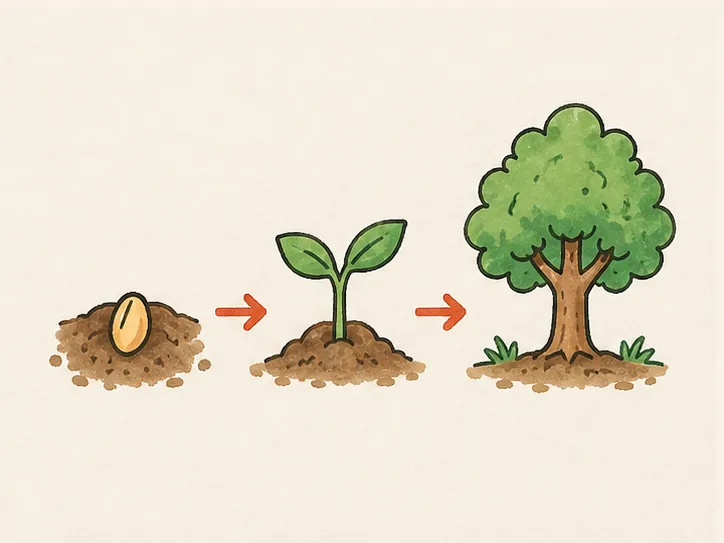
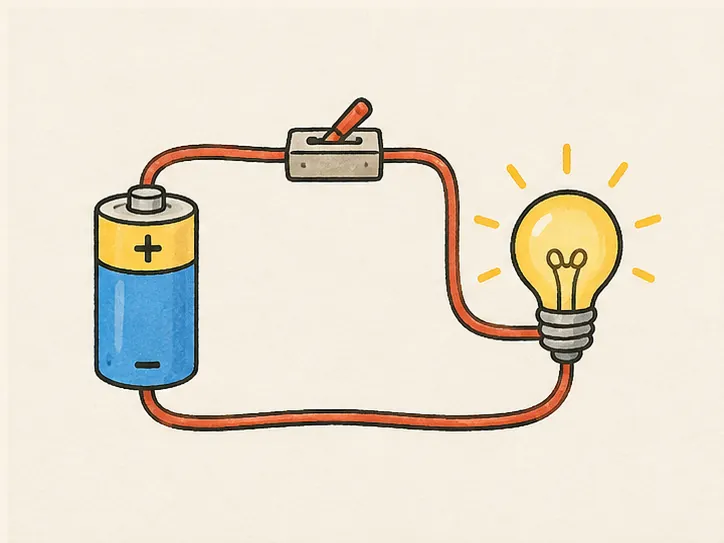
0:43The water cycleScience lesson · whiteboard animation0:31How a seed growsBiology lesson · whiteboard animation0:31A simple circuitPhysics lesson · whiteboard animation0:58Shapes lessonLesson intro · whiteboard animation0:33Marketing funnelExplainer ad · whiteboard animation0:30App launchProduct launch · whiteboard animation



In an explainer
How to build a whiteboard explainer video from clips
- 01
One picture per scene
Split the script into scenes and give each one a finished illustration: the problem, the idea, the steps, the result.
- 02
Draw each scene
Upload every picture and set its length to the line it sits under; line art and colour are separate chapters you can pace.
- 03
Cut it together
Lay the clips on your timeline in Premiere, Final Cut, DaVinci or CapCut, then add the voice-over and music.
Questions
Whiteboard explainer videos: questions
No. It draws the pictures you upload, one clip per picture. The script, voice and edit stay in your hands and your editor.
A 60 to 90 second explainer is usually five to eight scenes. Each one is a separate drawing, so you can change one without redoing the rest.
Yes. Pro export keeps the background transparent, so a drawing lays over footage, a slide or a brand colour in any editor.