 Whiteboard Animation
Education · Chemistry lesson · 1:08
Distillation animation
Watch a simple distillation setup drawn step by step: a burner heating a round flask closed with a cork, a sloping condenser and a conical flask catching the drops. A hand-drawn whiteboard animation made from one illustration.
- Length
- 1:08 · 2 chapters
- Aspect ratio
- 4:3
- Colour starts at
- 0:31
- Style
- Lines + colour
- Formats
- 16:9 · 1:1 · 9:16
By Deniffer AlanPublished Tested by Deniffer Alan
Opens Studio with this picture, ready to draw.
Your own picture? How to prepare one
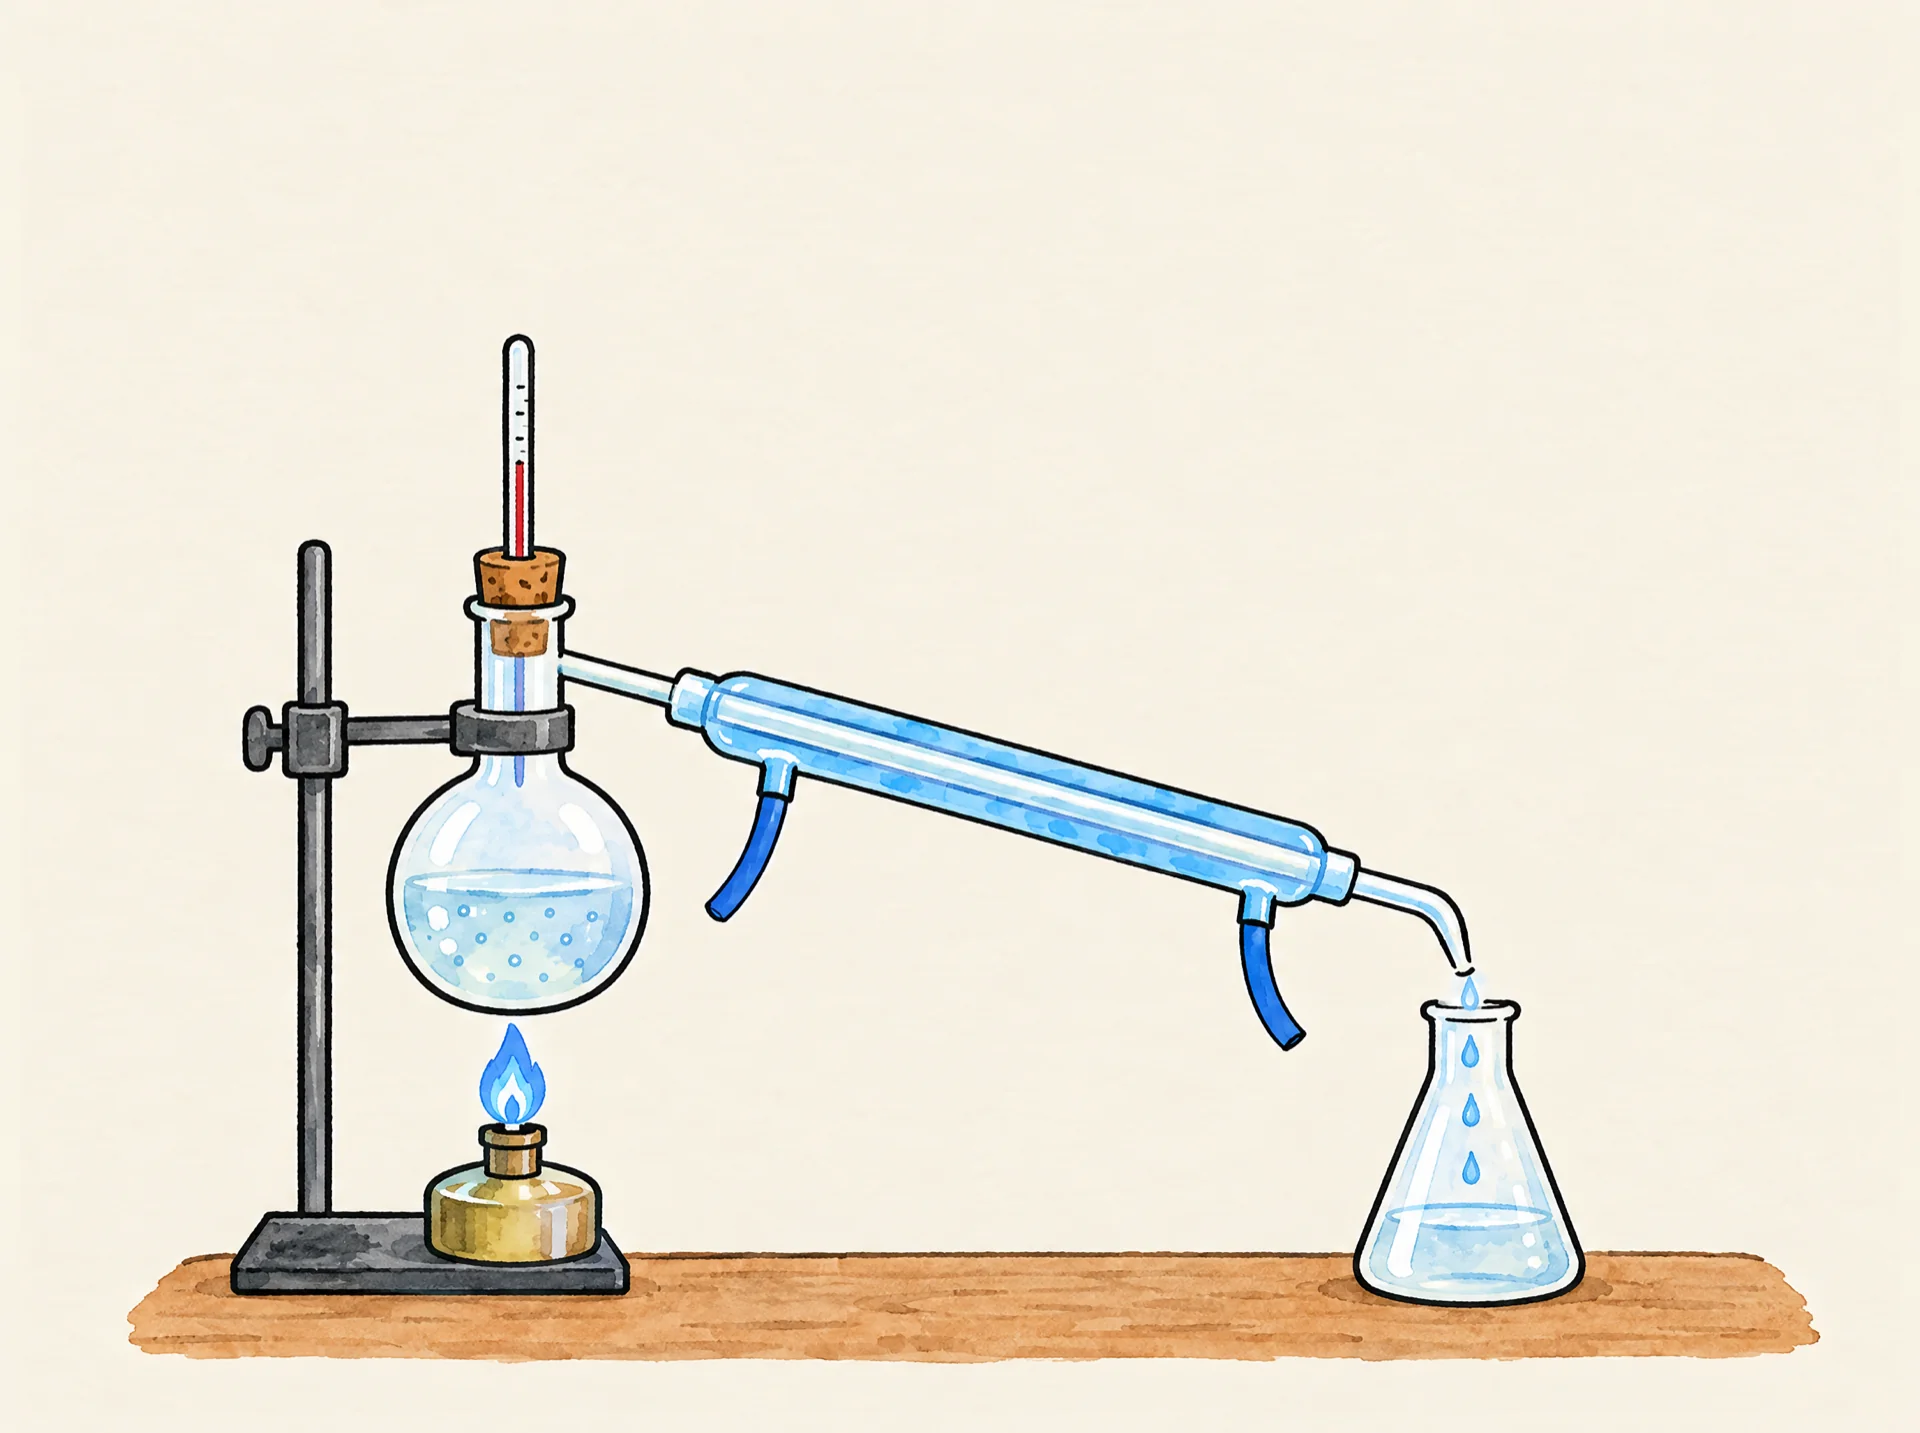
The picture it starts from
This finished illustration is all the drawing started from. Upload a picture like it and Studio draws it stroke by stroke; we don't generate pictures from text.
1920 × 1433 px · WEBP
The prompt behind the picture
Hand-drawn simple laboratory distillation setup on a table, seen from the front, left to right: on the left, a small spirit burner with a blue flame heats one round-bottom glass flask of liquid held up by a clamp stand. The top of the flask neck is tightly closed with one cork stopper, and one thin thermometer pokes down through the cork into the neck. From a side arm on the neck, one straight glass condenser tube slopes downward to the right, wrapped in an outer glass jacket of cool blue water with one small hose at each end. At the lower right end of the condenser, clear drops fall into one conical (Erlenmeyer) flask that holds a little clear collected liquid. Only these things: the burner, the flask with its cork and thermometer, the clamp stand, the sloping condenser and the conical flask. Nothing else in the picture, plenty of empty space above. Coloured pencil and watercolour marker, clean black ink outlines, warm off-white paper, no text.The picture came from an image model; any finished illustration works the same way, including one you drew. Use the prompt as a starting point for your own topic.
How this clip was made
The picture above was made with an image model from the prompt above; WhiteboardAnimation.ai then drew it, stroke by stroke, as the clip at the top of this page.
- Drawn
- Credits used
- 1
Notes from making it
The first picture left the top of the heated flask open, so the vapour could have escaped; it was made again with a cork and a thermometer. The narration was checked against Britannica’s article on distillation.
Distillation, step by step
A script to read over it, timed to the drawing: the lines go down first and the colour arrives on the last beat.
- 0:00Line artDistillation separates a mixture by turning a liquid into vapour and then cooling the vapour back into a liquid.
- 0:08The burner heats the liquid in the round flask. The part with the lowest boiling point turns into vapour first.
- 0:16A cork closes the top of the flask, so the vapour has to travel along the side arm into the condenser.
- 0:24ColourThe condenser cools the vapour, and it turns back into drops of liquid.
- 0:32The drops are collected in the flask on the right. This collected liquid is called the distillate.
Where this distillation animation fits
Use it in a chemistry lesson on separating mixtures, before a demonstration with real glassware, or as a short clip in a science video for kids. The same process turns your own diagram into a clip.
- Education
- Explainer videos
- Science
Questions